Choosing the best chamber vacuum sealer is not simply about finding the machine with the highest vacuum level or the biggest price tag.
A good machine should match your work.
Disclosure: As an Amazon Associate I earn from qualifying purchases. Read our Amazon Affiliate Disclosure for more information.
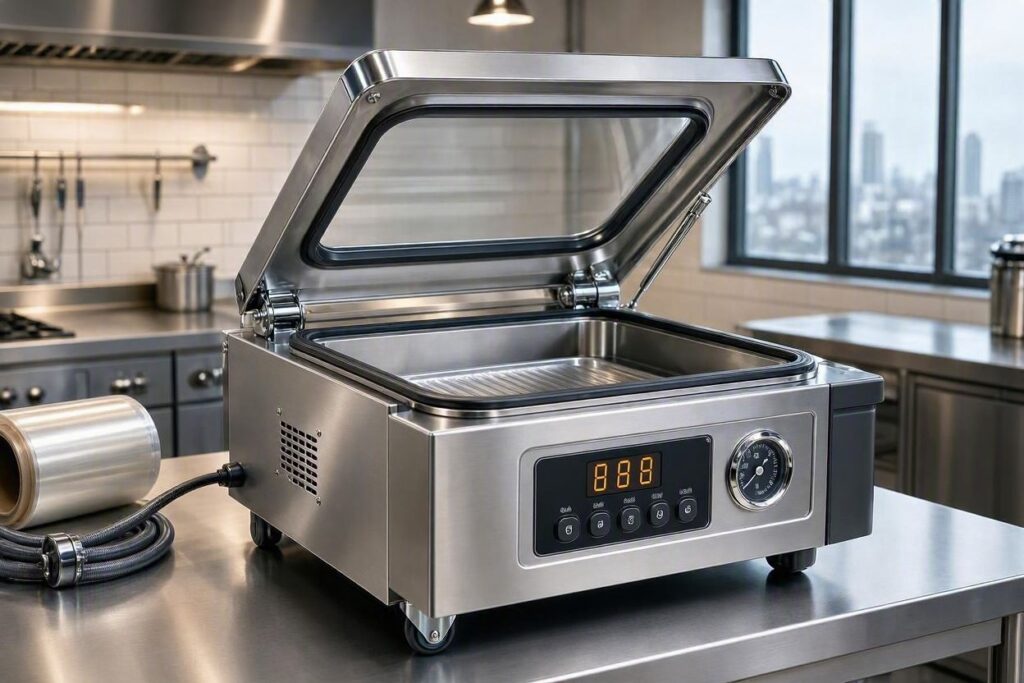
If you run a restaurant, prepare meals in bulk, package meat, seal liquids, or store food for longer periods, your requirements will differ from someone who only seals a few bags each week.
That is why it helps to look at the whole picture before making a purchase.
A chamber vacuum sealer can handle many jobs that ordinary external vacuum sealers struggle with. The bag sits inside the chamber, the machine removes air from the chamber, and the pouch gets sealed during the cycle.
The process sounds simple.
The important part comes from choosing the right size, settings, bags, pump, and workflow.
Here is a step-by-step guide.
1. Start With Your Main Reason for Buying
First, ask yourself one simple question:
What will I seal most often?
Maybe you want to package:
- Beef
- Chicken
- Fish
- Vegetables
- Cheese
- Prepared meals
- Sauces
- Marinades
- Soups
- Dry foods
- Frozen foods
Make a short list.
Your answer will guide almost every other decision.
2. Decide Whether You Need a Chamber Machine
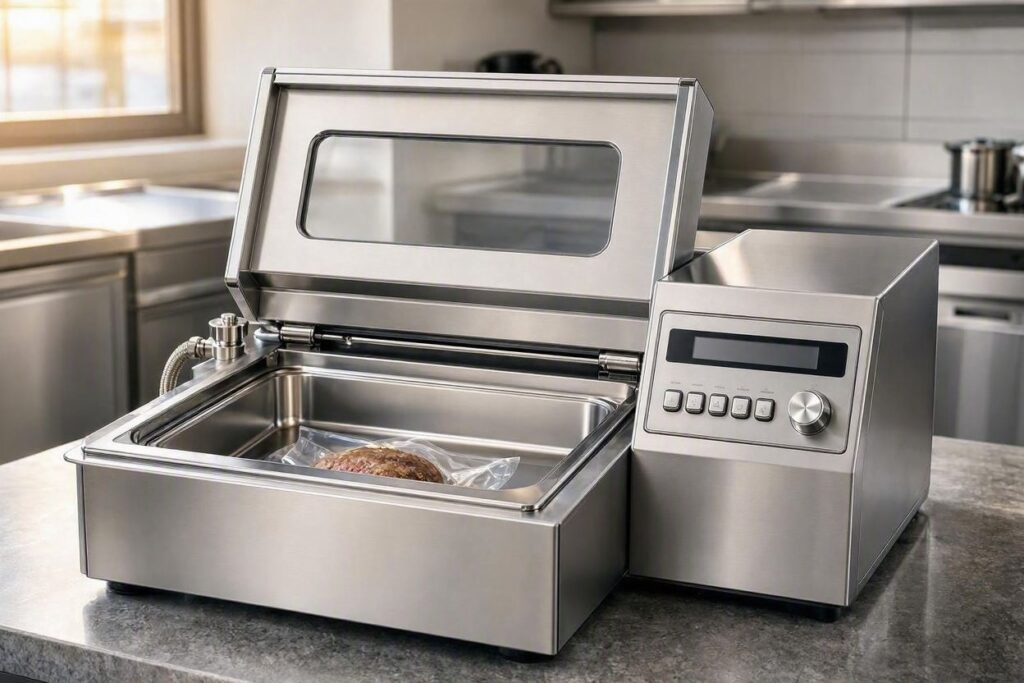
A chamber vacuum sealer places the complete bag inside the machine’s chamber.
This differs from many external vacuum sealers that pull air directly from the pouch.
The chamber design can provide useful control when working with wet or moist foods.
If you frequently package liquids, sauces, or marinades, a chamber machine may make more sense for your operation.
3. Estimate Your Weekly Workload
Think beyond today’s workload.
How many bags do you seal every week?
How many do you expect to seal six months from now?
A machine that works comfortably for 50 bags a week may become frustrating when your production reaches 500.
Write down your numbers.
It gives you something practical to compare with machine specifications.
4. Look at Chamber Dimensions
Chamber size can make or break your buying decision.
Measure your largest food package.
Then compare it with the machine’s internal chamber dimensions.
Pay attention to:
- Length
- Width
- Height
Do not measure only the bag when empty.
Measure the finished product.
Thick steaks, large portions, and bulky meals require more space.
5. Check the Seal-Bar Length
The seal bar determines how wide a bag you can seal.
If you use wide pouches, you need a suitable sealing width.
Measure your current bags.
Then compare them with the machine specifications.
This takes only a few minutes.
It can save you from buying equipment that does not fit your packaging.
6. Think About Bag Quantity Per Cycle
Some commercial chamber machines can handle more than one smaller pouch in a cycle.
That can help with production speed.
But do not simply fill every inch of the chamber.
The bags need proper positioning.
The machine should seal them consistently.
Test the arrangement before using it for a large production batch.
7. Check the Vacuum Pump
The pump matters.
Look at the manufacturer’s specifications instead of relying on marketing language.
For commercial work, check the pump design, capacity, and recommended operating conditions.
A stronger pump can help reduce cycle times, but your actual production needs should determine what you buy.
8. Check the Duty Cycle
A commercial machine may run repeatedly during a busy shift.
Check how the manufacturer recommends using the machine.
Some machines suit lighter workloads.
Others target more frequent commercial operation.
Choose accordingly.
9. Look for Adjustable Controls
Different foods behave differently.
You may want to adjust:
- Vacuum time
- Vacuum level
- Seal time
- Seal temperature
Adjustable controls can make it easier to create a suitable process for different products.
10. Think About Wet Foods
One of the biggest reasons people consider chamber vacuum machines is their ability to work with moist products.
You might package:
- Marinated meat
- Sauce
- Gravy
- Soup
- Wet vegetables
- Prepared meals
The machine still requires proper setup.
Keep the sealing area clean.
Use suitable bags.
Test your settings.
11. Choose Quality Vacuum Bags
Do not spend money on a good machine and then use poor packaging.
The bag must suit the product and your intended storage or cooking conditions.
Check:
- Material
- Thickness
- Strength
- Seal compatibility
- Temperature rating
- Freezing suitability
For sous vide applications, make sure the bag manufacturer specifically supports your intended use.
12. Pick the Correct Bag Size
Use the smallest practical bag that comfortably fits the product.
Too small?
You may struggle to seal it.
Too large?
You may waste packaging material.
Leave sufficient empty space at the top.
13. Prepare Food Before Sealing
Remove unwanted packaging.
Trim food where appropriate.
Portion large products.
Watch for sharp bones and edges.
A few minutes of preparation can prevent punctured bags later.
14. Keep Sharp Edges Away From the Pouch
Bones can puncture vacuum bags.
This commonly matters with:
- Bone-in steaks
- Chicken
- Ribs
- Shellfish
- Other hard food pieces
Check the bag after sealing.
If you regularly experience punctures, review both the packaging material and your preparation method.
15. Keep the Opening Clean
This is one of the most important habits.
Do not allow food, oil, or liquid to cover the sealing area.
If the opening becomes dirty, clean it before sealing.
A dirty seal area can lead to leaks and failed packages.
16. Fill the Bag Correctly
Do not overfill.
Leave enough room above the food.
Arrange the contents so the bag can sit properly inside the chamber.
For businesses, standard portion sizes make this much easier.
17. Position the Bag Correctly
Place the open end along the sealing area.
Keep the bag flat.
Remove unnecessary folds.
If you seal several bags at once, arrange them carefully.
Poor positioning can waste an entire cycle.
18. Select Your Starting Vacuum Setting
Start with a sensible setting.
Do not assume maximum vacuum works best for every product.
Delicate foods may need more careful handling.
Thick or solid foods may behave differently.
Test before full production.
19. Run a Test Package
This is an easy step to skip.
Do not skip it.
Take one normal portion.
Put it in the bag.
Run the machine.
Inspect the result.
If everything looks good, make a few more test packages.
Then move into production.
20. Inspect the Finished Seal
Look closely at the seal.
Check for:
- Gaps
- Wrinkles
- Food residue
- Uneven sealing
- Burn marks
- Weak sections
A consistent seal gives you confidence in the packaging process.
21. Check the Whole Bag
The seal is not the only thing that matters.
Look at the sides.
Look at the bottom.
Look around corners.
Check for punctures.
A tiny hole can ruin an otherwise perfect package.
22. Think About Freezer Storage
Vacuum packaging can work well for products that you plan to freeze.
Use bags suitable for freezing.
Remove excess air as appropriate.
Then store the package under proper freezing conditions.
Organize packages so you can easily find older batches.
23. Consider Sous Vide Cooking
A chamber vacuum sealer can also fit well into a sous vide workflow.
You can seal suitable food pouches and then cook them in a controlled water bath.
However, always verify that your bags support the cooking temperature and duration you plan to use.
Follow appropriate food-safety procedures as well.
24. Consider Liquid Packaging
If you frequently package liquids, compare chamber machines carefully.
Examples include:
- Marinades
- Sauces
- Soups
- Stocks
- Gravies
The chamber design can make this type of packaging more practical than some external vacuum systems.
Still, product testing matters.
25. Consider Your Counter Space
Commercial chamber machines can take up a fair amount of space.
Measure your work area.
Leave enough room for the operator to load and unload bags.
Also leave room for cleaning.
26. Check Machine Weight
Some commercial machines are surprisingly heavy.
Make sure your work surface can support the equipment.
If you plan to move the machine frequently, consider how practical that will be.
27. Check Electrical Requirements
Before installation, check:
- Voltage
- Power requirements
- Plug type
- Circuit requirements
If you are unsure, ask a qualified electrician to review the installation.
28. Think About Cleaning
Food equipment needs regular cleaning.
Ask how easy it is to clean the chamber.
Look at the sealing area.
Check how easily you can reach areas where food residue might collect.
Simple cleaning can save time every day.
29. Inspect the Chamber Gasket
The gasket helps maintain the chamber seal.
Check it regularly for:
- Cracks
- Cuts
- Dirt
- Deformation
- Wear
Follow the manufacturer’s instructions for cleaning and replacement.
30. Maintain the Vacuum Pump
The pump needs attention too.
Follow the manufacturer’s maintenance schedule.
If vacuum performance changes, investigate instead of continuing to operate the machine without checking it.
31. Keep a Maintenance Record
Write down maintenance work.
Record:
- Date
- Cleaning
- Parts replaced
- Problems
- Repairs
This gives you a useful history of the machine.
32. Check Replacement Parts
Before buying, ask about spare parts.
Find out how easily you can obtain:
- Gaskets
- Sealing components
- Pump parts
- Other service items
Fast access to replacement parts can reduce downtime.
33. Look at Warranty Support
Read the warranty carefully.
Check what the manufacturer covers.
Ask how repairs work.
Find out who provides technical support.
Do this before buying, not after something breaks.
34. Think About Employee Training
A machine works best when everyone uses it correctly.
Train employees on:
- Bag selection
- Portion size
- Filling
- Bag positioning
- Vacuum settings
- Sealing
- Package inspection
- Cleaning
Keep the instructions simple.
35. Create a Standard Packaging Routine
A basic routine could look like this:
Prepare food
↓
Select bag
↓
Fill bag
↓
Clean opening
↓
Load chamber
↓
Select setting
↓
Vacuum and seal
↓
Inspect
↓
Label
↓
Store
A clear routine makes training much easier.
36. Create Product-Specific Settings
You may package several different products.
Create tested settings for each major product.
For example:
Beef: tested vacuum and seal settings
Chicken: tested vacuum and seal settings
Fish: tested vacuum and seal settings
Sauce: tested vacuum and seal settings
This avoids unnecessary guesswork.
37. Test After Changing Bags
If you change the bag material or thickness, test again.
Different packaging can behave differently.
Do not assume that a setting that worked yesterday will work perfectly with a new bag.
38. Test After Changing Products
The same rule applies to food.
If you normally package dry meat and suddenly start packaging marinated meat, test the process.
Wet products can behave differently during vacuuming.
39. Monitor Production Speed
Count how many packages you complete per hour.
Then compare that number with your daily workload.
If the machine becomes a bottleneck, you will notice it early.
40. Track Failed Packages
Keep a simple record.
Write down why a package failed.
Common reasons include:
- Dirty seal area
- Punctured bag
- Wrong bag size
- Poor positioning
- Incorrect settings
- Overfilling
Fix repeated problems at the source.
41. Avoid Unnecessary Packaging Waste
Failed bags cost money.
So does using oversized bags.
Standardize common bag sizes.
Train employees to use the correct pouch for each product.
42. Keep the Packaging Area Organized
Place commonly used bags close to the machine.
Keep labels nearby.
Create a clear place for finished packages.
A clean workspace helps employees work faster.
43. Consider Your Future Production
Your business may grow.
If you expect more orders, catering work, or meal-prep production, think about that before buying.
Do not buy equipment that barely handles today’s workload.
At the same time, do not spend heavily on capacity you will never use.
Find the middle ground.
44. Compare Total Cost
The purchase price tells only part of the story.
Also consider:
- Bag costs
- Maintenance
- Electricity
- Replacement parts
- Cleaning
- Labor
- Downtime
A machine that costs more initially may make sense if it fits your production requirements and runs reliably.
45. Compare Commercial Models Properly
When comparing machines, make a simple table.
Write down:
| Feature | Machine A | Machine B | Machine C |
|---|---|---|---|
| Chamber size | |||
| Seal-bar length | |||
| Pump | |||
| Vacuum controls | |||
| Seal controls | |||
| Cycle time | |||
| Bag capacity | |||
| Maintenance | |||
| Warranty |
Then compare the machines against your actual requirements.
46. Do Not Buy Based on One Feature
A machine may advertise an impressive vacuum specification.
That does not automatically make it the best choice.
Look at the complete package.
A machine with a suitable chamber, good controls, reliable support, and practical maintenance may serve you better.
47. Think About Your Staff
A complicated machine can slow down production if employees struggle to use it.
Look for controls that make sense.
Train staff properly.
Create simple written instructions.
48. Check the Machine Before Full Production
When you receive a new machine, test it.
Check:
- Vacuum performance
- Sealing
- Bag compatibility
- Controls
- Chamber operation
- Cleaning
- Product handling
Use your real products during testing.
49. Build Quality Checks Into Your Routine
Do not inspect packages only when something goes wrong.
Make inspection part of normal production.
Check the first packages.
Check after changing settings.
Check periodically during longer production runs.
50. Choose Based on the Job, Not the Label
The phrase best chamber vacuum sealer sounds simple, but there is no single machine that works perfectly for every user.
The best choice depends on your:
- Food
- Package size
- Production volume
- Workspace
- Budget
- Wet-food requirements
- Storage needs
- Maintenance expectations
That is the real starting point.
Mistakes to Avoid When Buying a Chamber Vacuum Sealer
Buying Too Small
Your machine should comfortably handle your common package sizes.
Ignoring Bag Compatibility
Always check the packaging specifications.
Choosing Only by Price
A low purchase price does not always mean low operating cost.
Ignoring Maintenance
Commercial equipment needs regular care.
Forgetting Spare Parts
Check availability before buying.
Skipping Test Runs
Test real food with real bags.
Overlooking Workspace
Measure your counter before purchasing.
Quick Checklist for Choosing the Best Chamber Vacuum Sealer
Before making a decision, check:
- Chamber dimensions
- Seal-bar size
- Vacuum pump specifications
- Vacuum controls
- Seal controls
- Cycle time
- Recommended workload
- Bag compatibility
- Wet-food suitability
- Machine dimensions
- Electrical requirements
- Cleaning process
- Maintenance schedule
- Replacement parts
- Warranty
- Technical support
- Overall operating cost
The best chamber vacuum sealer is not necessarily the biggest, most expensive, or most powerful model.
It is the machine that fits your work.
Start with your food.
Then consider your package sizes, daily volume, chamber dimensions, seal-bar length, vacuum controls, bags, maintenance, and available workspace.
If you package liquids or wet foods regularly, pay particular attention to how the machine handles those products.
If you prepare sous vide meals, verify that your bags and complete process suit the intended cooking conditions.
And if you run a busy commercial kitchen, think about cycle time and long-term reliability instead of focusing only on the purchase price.
Most importantly, test your process.
Use your own food.
Use your own bags.
Check the seals.
Track failed packages.
Train your employees.
Maintain the machine.
A good vacuum packaging system should make your work easier, not create another problem for your staff.
The process can remain simple:
Choose → Prepare → Bag → Vacuum → Seal → Inspect → Label → Store
Get those steps right, and your chamber vacuum sealer can become a dependable part of your daily food-packaging routine.
Content Disclaimer: Content on Vacuum Seal HQ is provided for general informational and educational purposes only. While we aim to provide accurate and up-to-date information, errors or omissions may occur. Always check product instructions, manufacturer guidance and other appropriate sources before relying on the information provided.