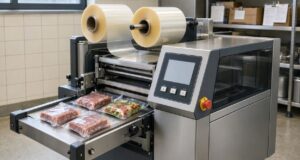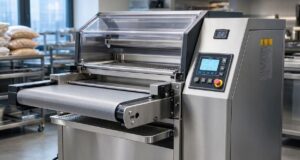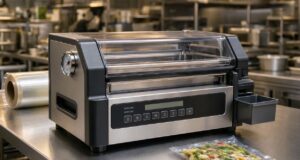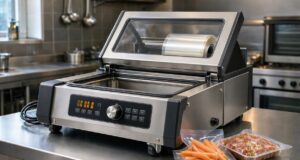
A commercial vacuum sealer machine can make a big difference in a busy kitchen, restaurant, food business, butcher shop, or small food-processing operation. It removes air from a specially designed bag and seals the opening tightly. This simple process helps protect food from air exposure and makes storage much easier.
Disclosure: As an Amazon Associate I earn from qualifying purchases. Read our Amazon Affiliate Disclosure for more information.
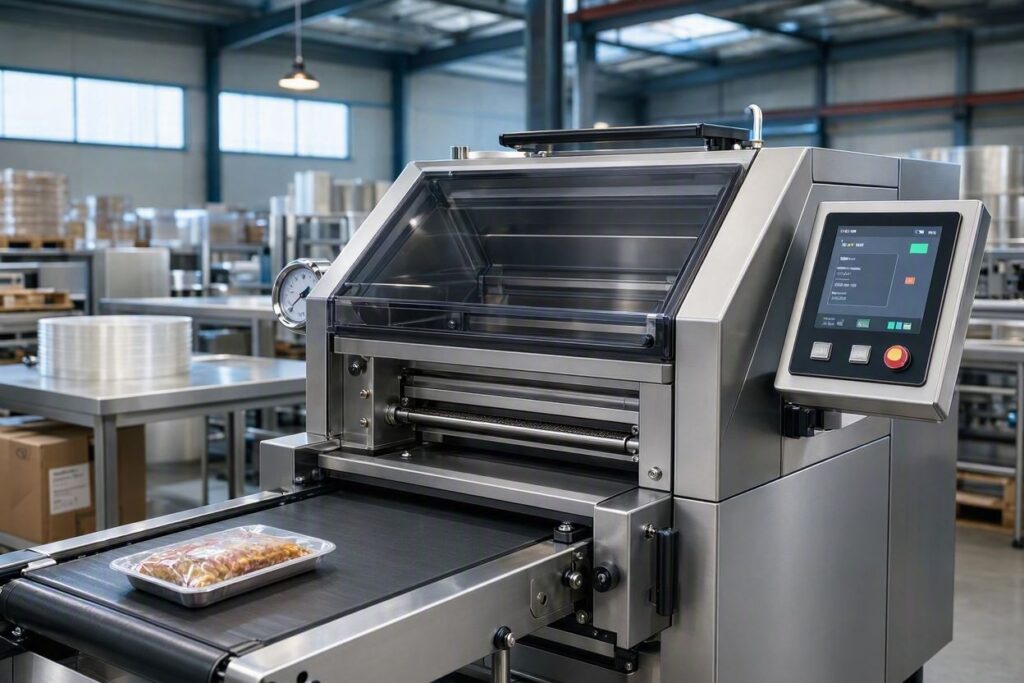
Home vacuum sealers can work well for occasional use, but commercial machines usually handle heavier workloads. They often offer stronger sealing systems, larger chambers, better controls, and more durable construction.
If you plan to buy or use a commercial vacuum sealer, you should understand how the machine works, how to choose the right model, and how to use it correctly.
This guide explains everything step by step in simple terms.
What Is a Commercial Vacuum Sealer Machine?
A commercial vacuum sealer machine is a packaging machine that removes air from a bag before sealing it.
The basic process looks like this:
- Place the food inside a suitable vacuum bag.
- Put the open end of the bag into the sealing area.
- Close the machine.
- Start the vacuum cycle.
- The machine removes air from the bag.
- The machine seals the opening.
- Remove the sealed package.
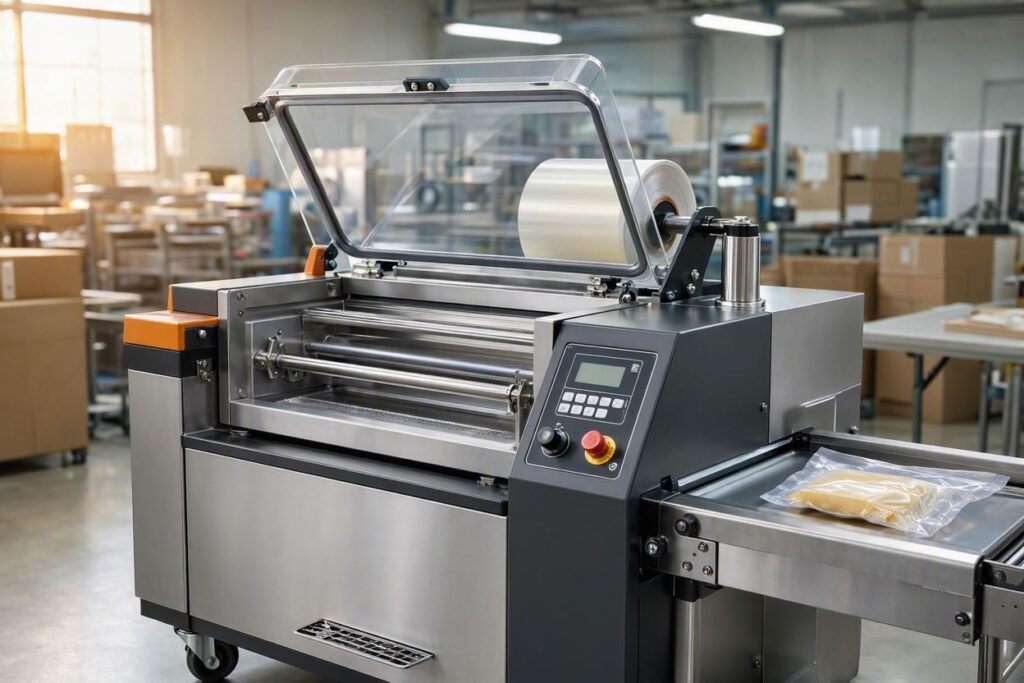
Some commercial machines use a chamber system. Others use an external or edge-sealing design.
The right choice depends on the type of food you package and how often you use the machine.
Why Do Businesses Use Vacuum Sealing?
Air can cause several problems during food storage.
Oxygen exposure can contribute to oxidation, quality loss, and freezer burn. Vacuum packaging reduces the amount of air around the food.
Businesses use vacuum sealing for many reasons.
It can help:
- Reduce air exposure
- Keep food packages compact
- Protect food from freezer burn
- Organize refrigerated or frozen products
- Improve package presentation
- Reduce packaging waste in some operations
- Make storage easier
- Prepare products for transportation
Remember that vacuum sealing does not replace proper refrigeration, freezing, sanitation, or food-safety practices.
Step 1: Decide What You Want to Seal
Start by identifying the products you plan to package.
A restaurant may use a vacuum sealer for meat, vegetables, cheese, prepared meals, or other ingredients.
A butcher shop may package cuts of meat.
A food business may seal products before shipping or storing them.
Make a list of the products you expect to seal regularly.
This will help you choose the right machine.
Step 2: Estimate Your Daily Workload
Think about how many packages you need to seal each day.
If you only seal a few bags occasionally, a smaller commercial model may meet your needs.
If you package hundreds of items, you need a machine designed for frequent use.
Do not choose a machine based only on its lowest price.
Look at its cycle time, sealing capacity, chamber size, pump performance, and construction.
A machine that cannot keep up with your workload can slow down the entire operation.
Step 3: Choose Between Chamber and External Models
Commercial vacuum sealers generally come in different designs.
A chamber vacuum sealer places the entire bag inside a chamber.
The machine removes air from the chamber and bag before creating the seal.
Chamber models work well for many commercial applications and can handle liquids more effectively than many external models when used correctly.
External sealers leave the bag outside the machine and remove air through the bag opening.
They can work well for certain products and smaller operations.
Think about your products, workload, available space, and packaging requirements before choosing.
Step 4: Check the Chamber Size
If you choose a chamber vacuum sealer, pay close attention to the chamber dimensions.
Measure the products you normally package.
A larger chamber gives you more room, but it also increases the machine’s physical size.
Do not buy the largest model simply because it looks more powerful.
Choose a chamber that fits your actual work.
Step 5: Select Suitable Vacuum Bags
The bag matters just as much as the machine.
Use bags designed for vacuum packaging and compatible with your sealer.
Check the bag thickness and size.
The bag should provide enough room around the product for a proper seal.
Do not overfill the bag.
Leave sufficient space at the opening so you can position it correctly in the sealing area.
Step 6: Prepare the Food
Prepare the product before you place it inside the bag.
Remove unnecessary packaging.
Trim sharp bones or edges that could puncture the bag when appropriate.
Keep the product clean.
For foods that require refrigeration, maintain proper temperature control throughout preparation and packaging.
Vacuum packaging does not make unsafe food safe.
Step 7: Place the Product Inside the Bag
Put the food into the vacuum bag.
Avoid getting food, grease, sauce, or moisture on the area where the machine will create the seal.
A dirty sealing area can interfere with the seal.
Keep the product away from the bag opening.
This small step can prevent many sealing problems.
Step 8: Position the Bag Correctly
Place the open end of the bag in the correct sealing position.
Follow the machine’s instructions.
Keep the opening flat.
Avoid wrinkles, folds, or overlapping material in the sealing area.
A clean, flat sealing surface gives you a better chance of getting a strong seal.
Step 9: Set the Vacuum Time
Commercial vacuum sealers often allow you to adjust the vacuum cycle.
The correct setting depends on the machine and product.
A dense product may need a different setting from a delicate product.
Start with the manufacturer’s recommended settings.
Test the result before running a large batch.
Step 10: Set the Sealing Time
The sealing setting also matters.
If you use too little sealing time, the bag may not close properly.
If you use excessive heat or time, you may damage the bag.
Use settings recommended for your specific bag material.
Make small adjustments after testing.
Step 11: Start the Vacuum Cycle
Once everything looks correct, start the cycle.
The machine will remove air from the bag according to its programmed settings.
Watch the bag during the process.
If you notice a problem, stop the cycle according to the machine’s instructions.
Do not place your hands inside a moving or operating chamber.
Step 12: Allow the Machine to Complete the Seal
After removing the air, the machine creates the seal.
Let the machine complete the cycle.
Do not pull the bag away early.
Wait until the machine releases the bag or indicates that the cycle has finished.
This helps protect the seal and reduces the chance of damaging the packaging.
Step 13: Inspect the Finished Package
Remove the sealed bag and inspect it.
Look closely at the seal.
You want to see a continuous, secure seal without obvious gaps, wrinkles, or open sections.
If the seal looks weak, investigate the cause before packaging more products.
The bag may have had moisture or food residue in the sealing area.
The sealing temperature or time may also need adjustment.
Step 14: Label the Package
After sealing, label the package according to your business and food-handling requirements.
Depending on the product and local regulations, you may need information such as:
- Product name
- Packaging date
- Use-by or storage information
- Batch number
- Other required details
Good labeling makes inventory management easier.
Step 15: Store the Sealed Product Correctly
Vacuum sealing does not eliminate the need for proper storage.
Keep refrigerated products at the required safe temperature.
Freeze products that require freezing.
Follow applicable food-safety rules for your location and product type.
Never assume that vacuum-sealed food can safely sit at room temperature simply because you removed the air.
Commercial Vacuum Sealer Machine Features to Consider
Before buying a machine, compare its important features.
Pump Performance
The pump affects how quickly the machine removes air.
A busy business may benefit from a machine designed for frequent cycles.
Sealing Bar
Check the sealing bar length.
A longer bar can accommodate wider bags.
Chamber Size
Choose a chamber that fits the products you normally package.
Construction
A commercial machine should suit the environment where you plan to use it.
Stainless-steel construction can make cleaning easier and may suit demanding food-service environments.
Controls
Simple controls can make daily operation easier.
Look for adjustable vacuum and sealing settings when your products require different packaging conditions.
Cycle Time
If you package many products each day, cycle time matters.
A faster machine can help increase productivity, but you should still follow the manufacturer’s operating limits.
Common Uses for Commercial Vacuum Sealing
A commercial vacuum sealer machine can serve many businesses.
Restaurants
Restaurants can use vacuum sealing for prepared ingredients, portioned foods, and organized storage.
Butcher Shops
Butchers can package meat portions for storage or sale.
Food Manufacturers
Food businesses can use vacuum packaging as part of their packaging process.
Catering Businesses
Caterers can package ingredients and prepared foods for organized storage and transport.
Meal Preparation Businesses
Meal-prep companies can use vacuum packaging for certain prepared products while following appropriate food-safety procedures.
Common Vacuum Sealing Problems
The Bag Does Not Seal
Check for food or moisture near the sealing area.
Also check whether you use the correct bag.
Air Remains Inside the Bag
Check the bag position and vacuum settings.
Look for leaks or punctures.
The Seal Looks Weak
Check the sealing time, temperature, bag material, and cleanliness of the sealing area.
The Bag Gets Damaged
Sharp food edges may puncture the packaging.
Adjust your preparation method or use packaging designed for the product.
The Machine Overheats
Frequent operation can generate heat.
Follow the manufacturer’s duty-cycle instructions and allow the machine to cool when required.
How to Keep a Commercial Vacuum Sealer Clean
Regular cleaning helps maintain good performance.
First, switch off the machine and follow the manufacturer’s cleaning instructions.
Remove food particles from accessible areas.
Clean the sealing area.
Keep the chamber clean if you use a chamber model.
Do not allow food residue to build up.
Use only cleaning products and methods that the manufacturer recommends for the machine’s materials.
Never pour liquids into electrical components.
How to Maintain a Commercial Vacuum Sealer
Regular maintenance can help you avoid unexpected problems.
Check the sealing bar.
Inspect the gasket on chamber models.
Look for signs of wear.
Clean the vacuum area.
Check hoses and connections where applicable.
Replace worn components according to the manufacturer’s instructions.
Keep a simple maintenance schedule if your business uses the machine every day.
Commercial Vacuum Sealer vs. Home Vacuum Sealer
A home vacuum sealer may work perfectly for occasional household use.
A commercial vacuum sealer usually targets heavier workloads.
Commercial models often provide:
- Larger sealing areas
- Stronger construction
- More powerful vacuum systems
- Larger chambers on chamber models
- Better suitability for repeated cycles
- More control over packaging settings
However, more expensive does not automatically mean better.
Choose the machine that matches your actual workload.
Tips for Getting Better Vacuum Sealing Results
Use good-quality vacuum bags.
Do not overfill bags.
Keep the sealing area clean and dry.
Choose the correct vacuum setting.
Use the appropriate sealing time.
Inspect every package.
Keep refrigerated and frozen products at safe temperatures.
Clean the machine regularly.
Follow the manufacturer’s operating instructions.
Train employees before allowing them to operate the machine.
A commercial vacuum sealer machine can make food packaging faster, cleaner, and more organized. The right machine can handle regular packaging work in restaurants, butcher shops, catering businesses, meal-prep operations, and other food-related workplaces.
Start by thinking about your workload and the products you want to package. Then choose a machine with the right chamber size, sealing width, pump capacity, and controls.
Once you have the machine, use compatible vacuum bags and prepare each product carefully. Keep food away from the sealing area, position the bag correctly, and use suitable vacuum and sealing settings.
After every cycle, inspect the finished seal. A good package should have a clean and secure seal without obvious gaps or damaged areas.
Most importantly, remember that vacuum sealing works alongside proper food handling and storage. It does not replace refrigeration, freezing, sanitation, or other food-safety practices.
With the right machine and a consistent process, vacuum sealing can become a simple part of your daily packaging routine. Take a little time to learn the controls, maintain the equipment, and test your packaging process. The results will usually be worth the effort.
Content Disclaimer: Content on Vacuum Seal HQ is provided for general informational and educational purposes only. While we aim to provide accurate and up-to-date information, errors or omissions may occur. Always check product instructions, manufacturer guidance and other appropriate sources before relying on the information provided.